
Step 1: Create Configuration and Customisation Templates
Follow the instructions in the How to Set Up Checkout Templates article.
Step 2: Generate Intent Token via API
The Intent encapsulates the payment context for the transaction. We recommend gathering all fields within the intent token request for compatibility with all existing and future payment methods.
| API Endpoint | https://api.paydock//checkouts/intent |
| HTTP Method | POST |
| Headers |
|
| Request Parameters |
|
After you send the API request, save the returned intent_token from the response. You will need this unique token to proceed with rendering the Checkout Widget in the next step.
Each intent_token is valid for 15 minutes, so payment must be completed within that timeframe.
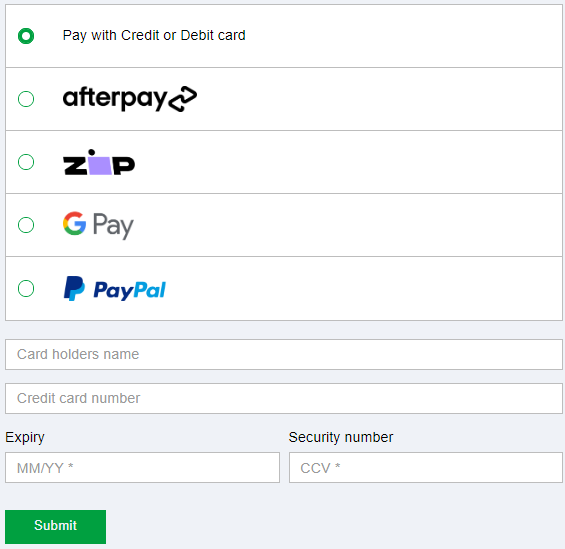
Step 3: Render the Widget
Use the intent_token to render the Checkout Widget to your website:
<div id="widget"></div>
<script src="https://widget.paydock.com/sdk//widget.umd.js"></script>
<script>
var widget = new Paydock.Checkout('#widget', "");
</script>
Step 4: Add Event Handling
Use the following events to track the checkout status:
- onPaymentSuccessful: Triggered when the payment is successful.
- onPaymentError: Triggered when the payment fails.
- onPaymentExpired: Triggered when the session expires.
Example:
<script>
widget.onPaymentSuccessful(function(data) {
console.log("Success:", data);
});
widget.onPaymentFailure(function(error) {
console.log("Failure:", error);
});
widget.onPaymentExpired(function(data) {
console.log("Expired:", data);
});
</script>