Brand Shared Groups
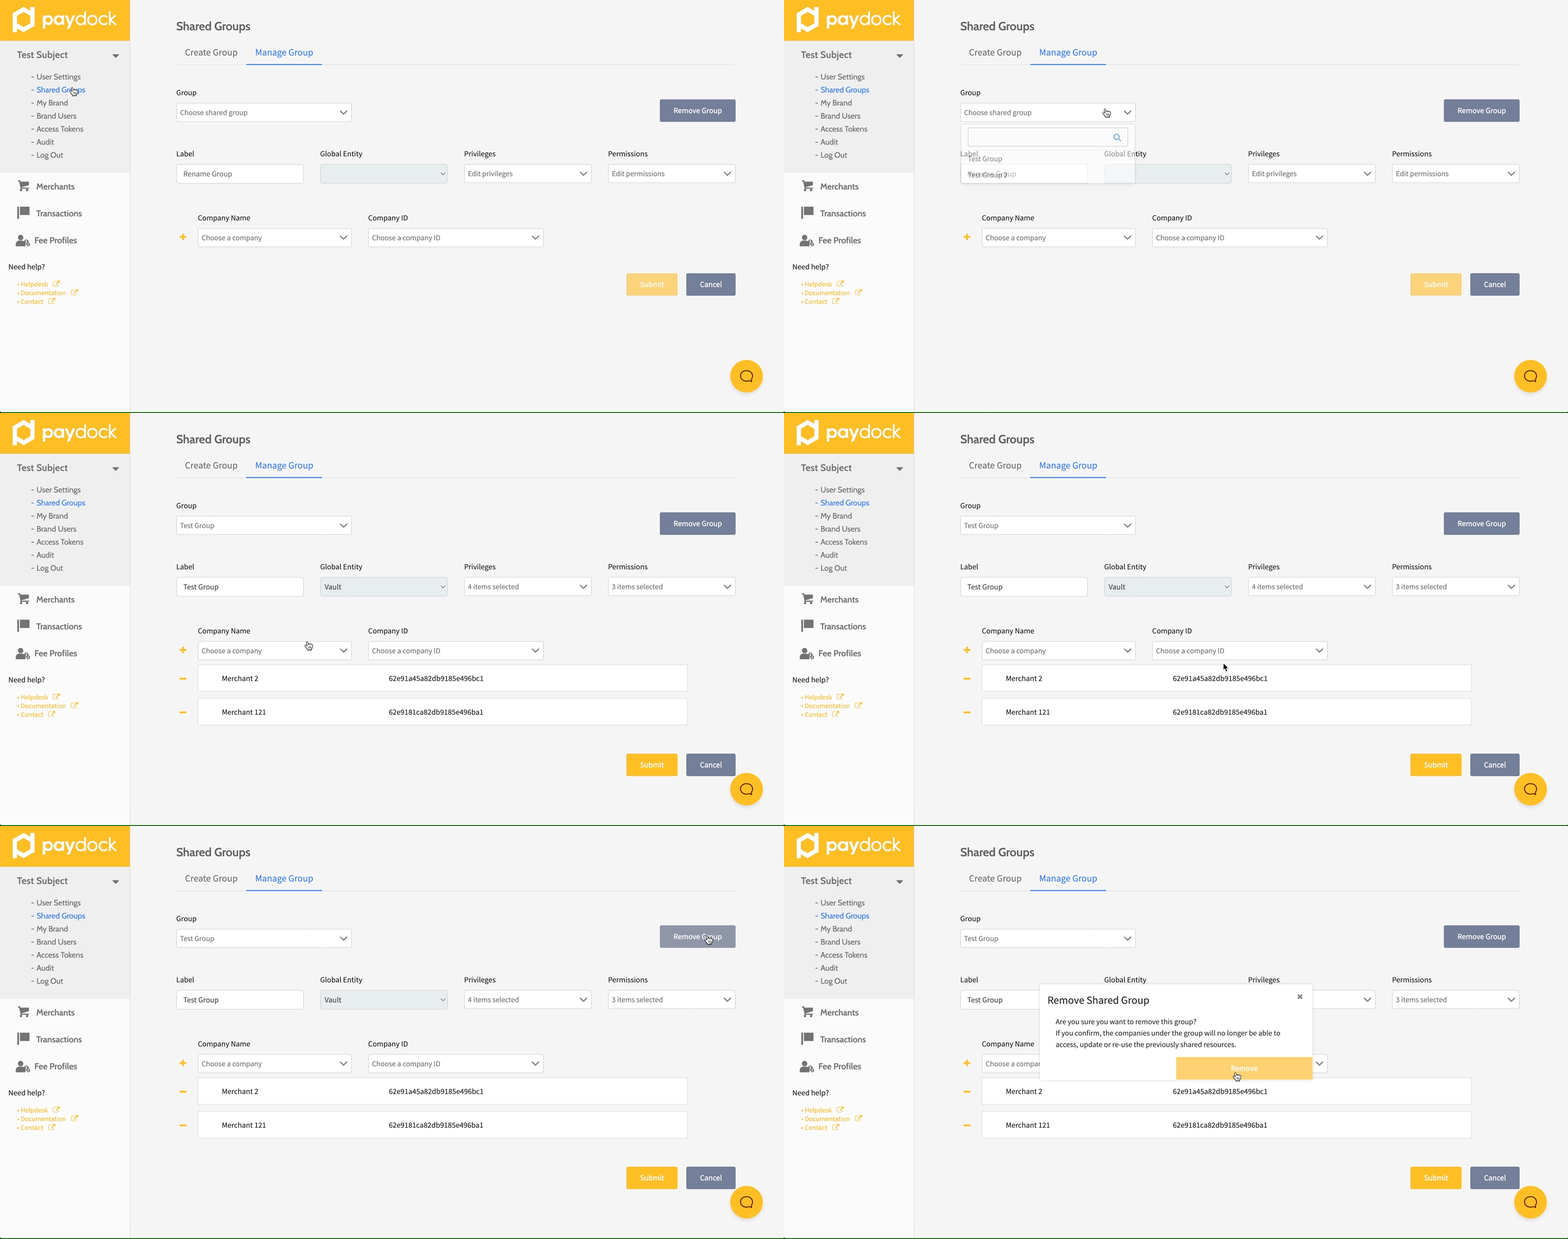
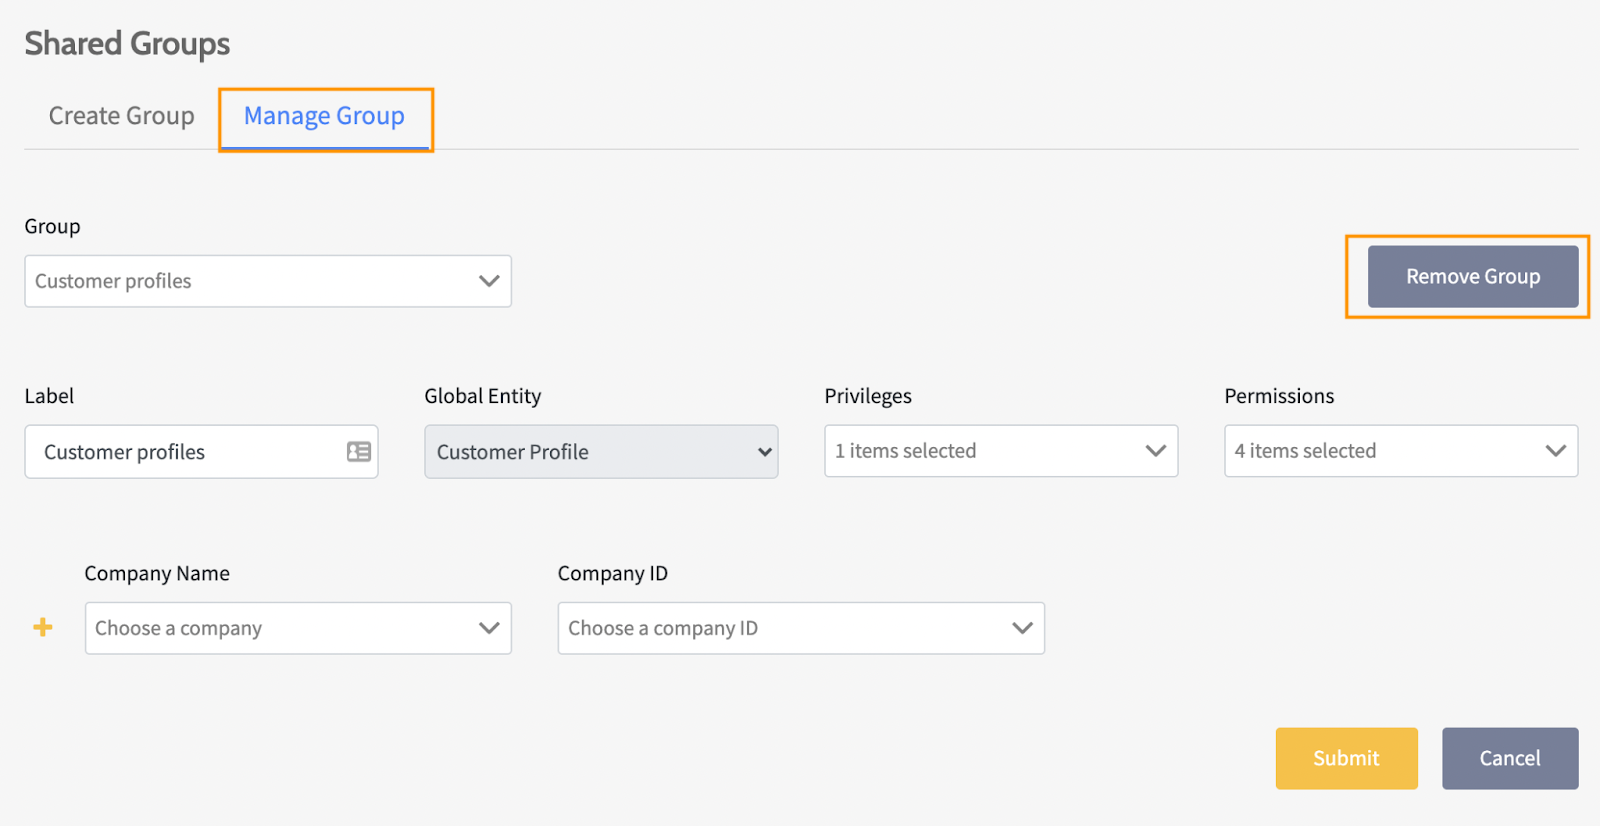
How to Add, Edit, and Remove Shared Groups on a Brand account
Add Brand Shared Groups
Shared groups provide brands with centralised management of shared privileges among multiple users. You decide the group's permissions (what actions to perform and what resources to access) with the possibility of the same company being included in several groups simultaneously.
Shared vault tokens and customer profiles are convenient and secure ways to store multiple companies' personal and billing details. For example, when your Companies belong to the same legal entity but are located in different branches with different accounts, they can still access the payment details of their pool of customers. As a result, the customers can make payments across the company without re-enting their payment information.
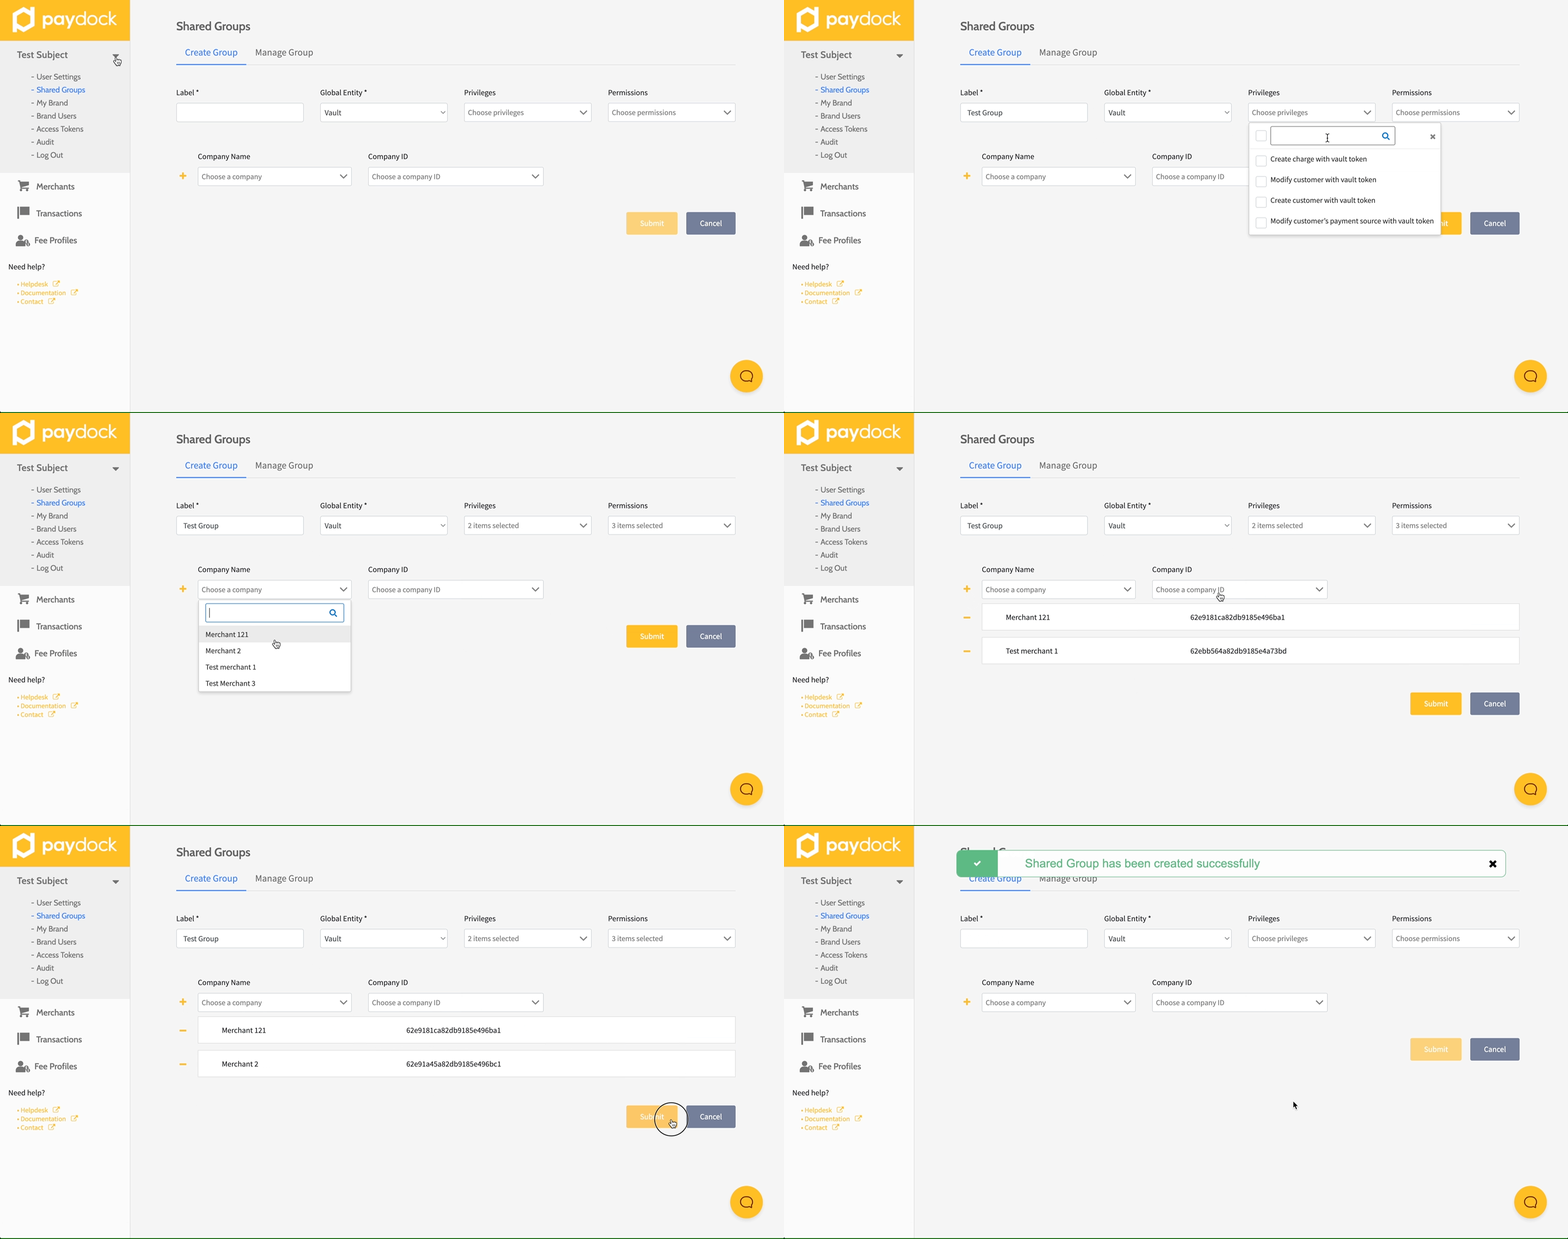
To add a new Brand Shared Group:
- Go to Profile menu > Shared Groups > Create Group.
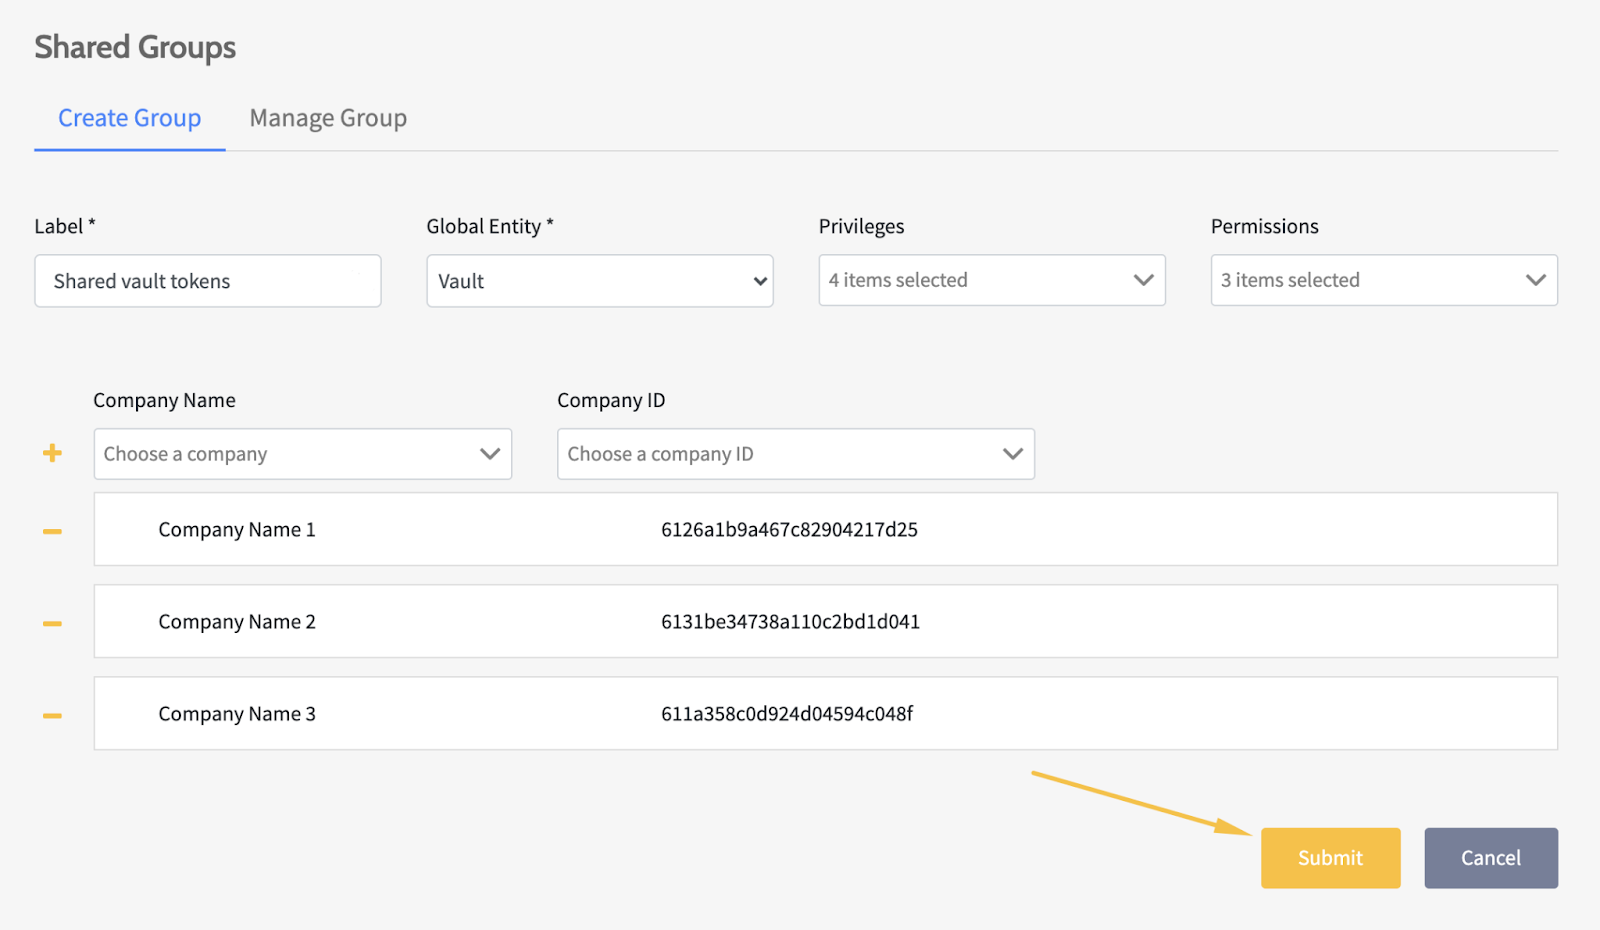
- Fill in the name under Label (for internal reference only).
- Select the shared group parameter from the Global Entity.
- Choose the shared actions allowed from the Privileges (Dashboard).
- Grant more specific permissions from the Permissions (API).
- Choose the Company by the Company Name or Company ID, and the other field will self-populate.
- Press the + sign to add a Company or the - sign to remove it.
- Click Submit.
Edit Brand Shared Groups
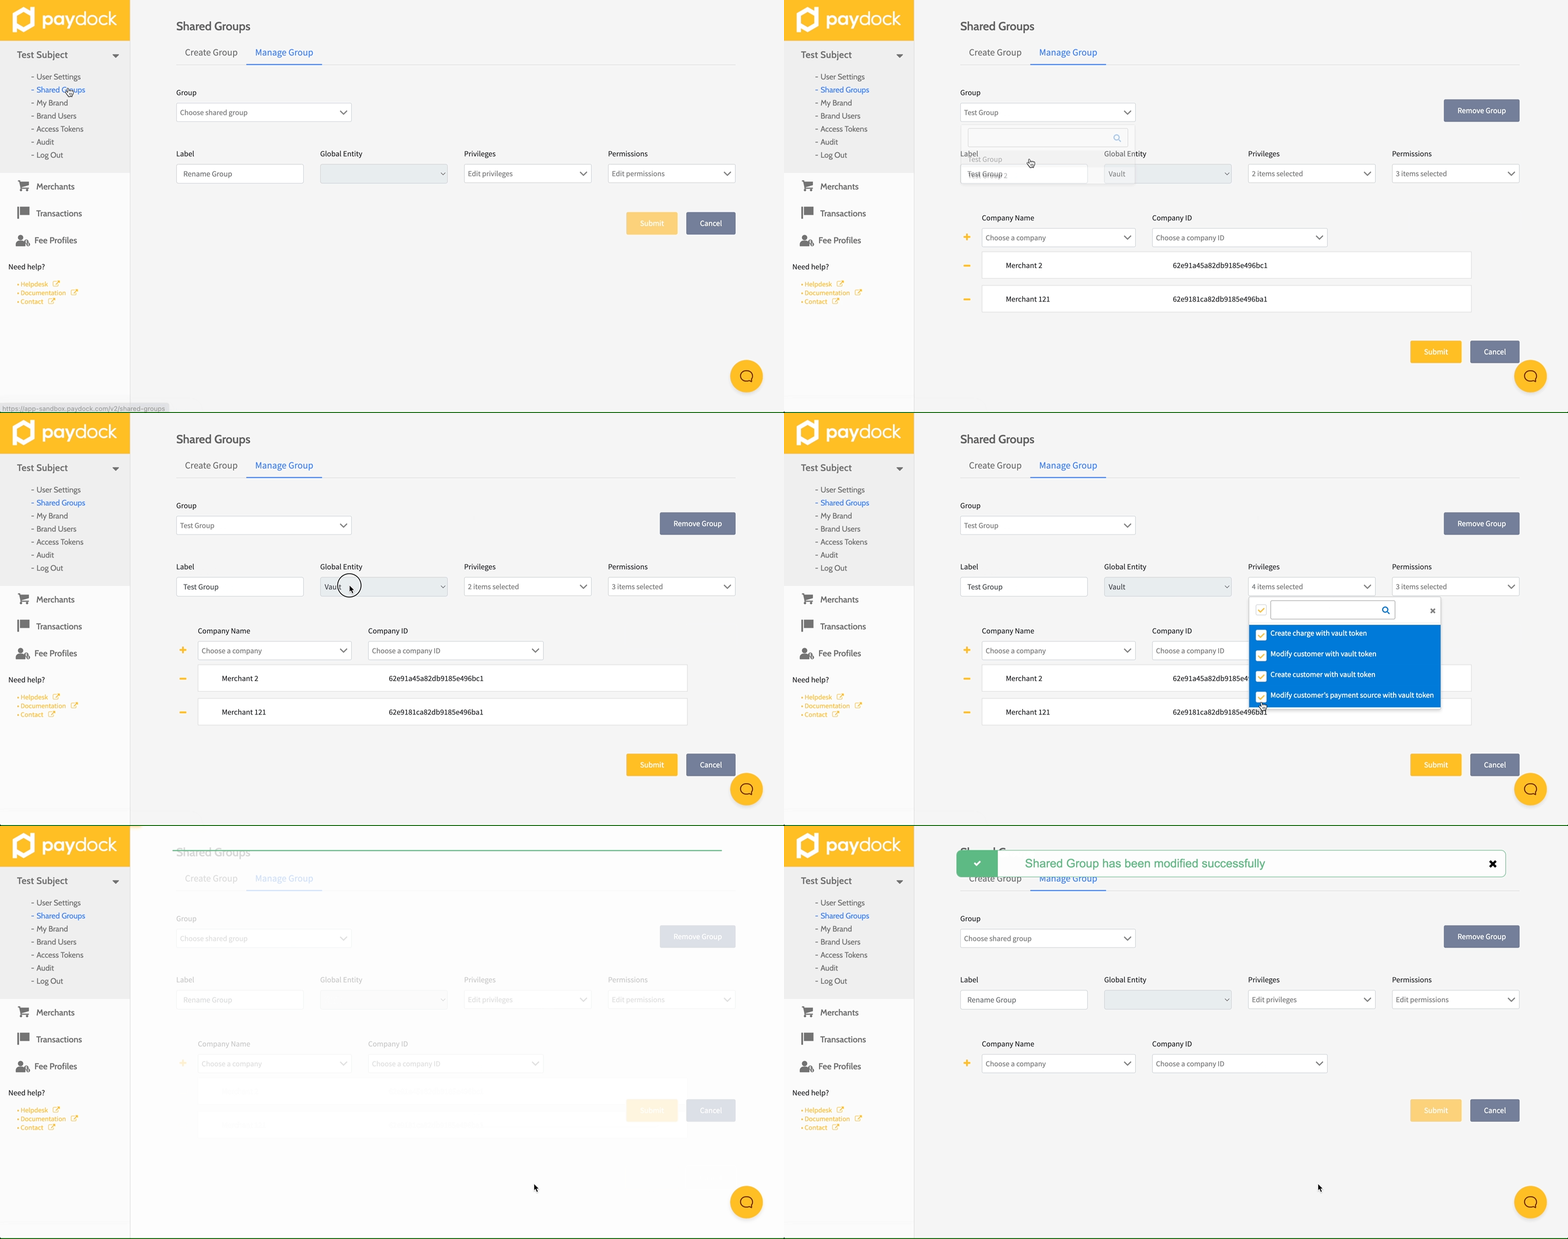
To edit a Shared Group:
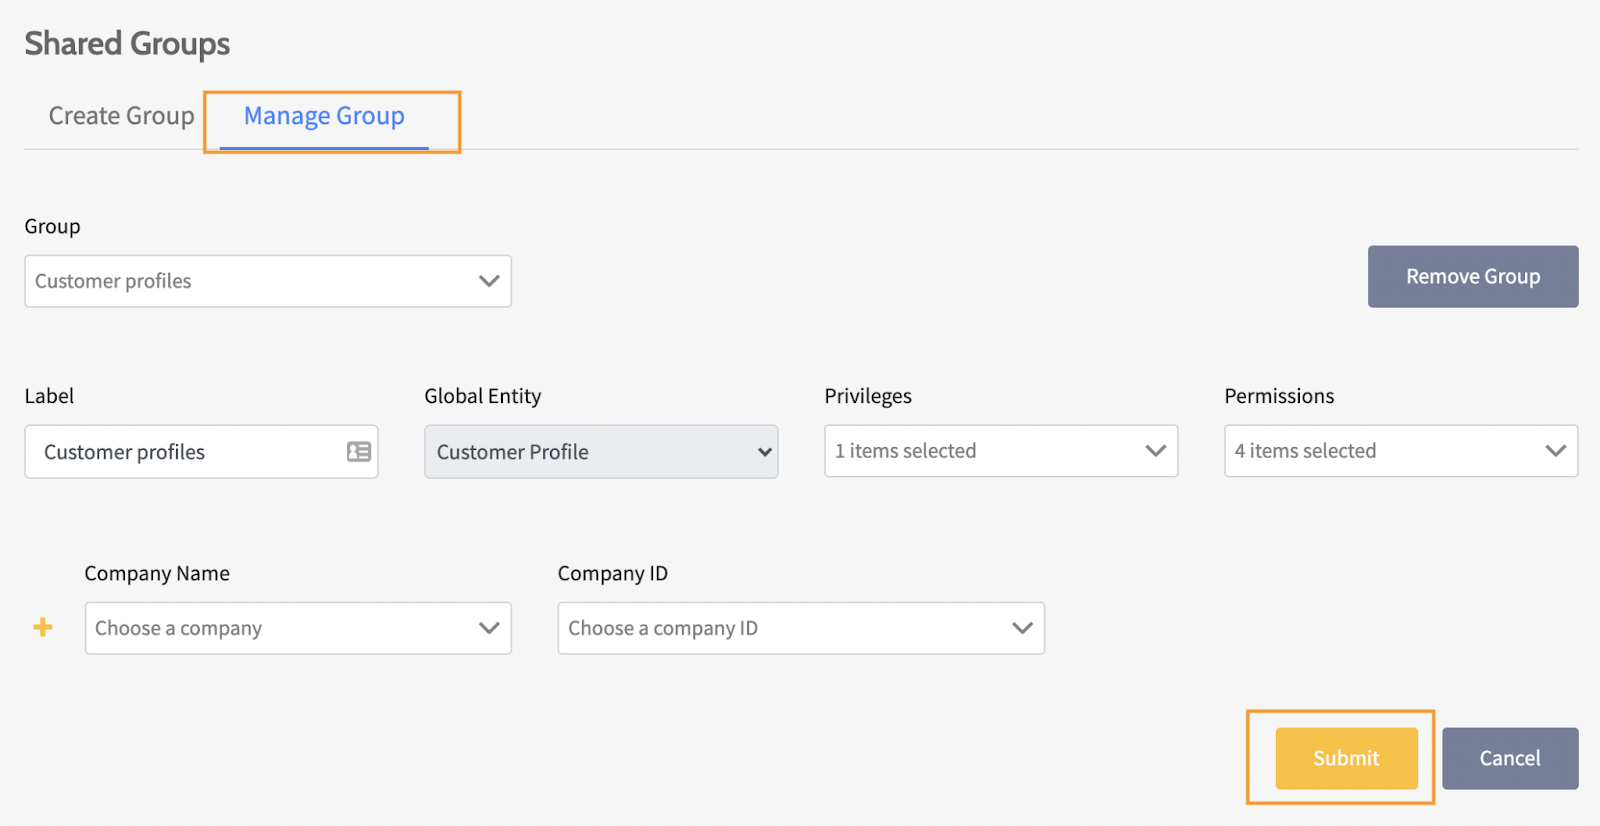
- Go to Profile menu > Shared Groups > Manage Group.
- Select the group from the Group drop-down list.
- Choose whether to update the Label, add (+) or delete Company (-), and select or unselect Privileges and Permissions.
- Click Submit.
Note: The Global Entity cannot be changed. Please create a new Group.
